I recently finished up a bartop arcade cabinet that I’ve been working on for a while. I got the basic design from this instructables post, and tweaked it a bit.
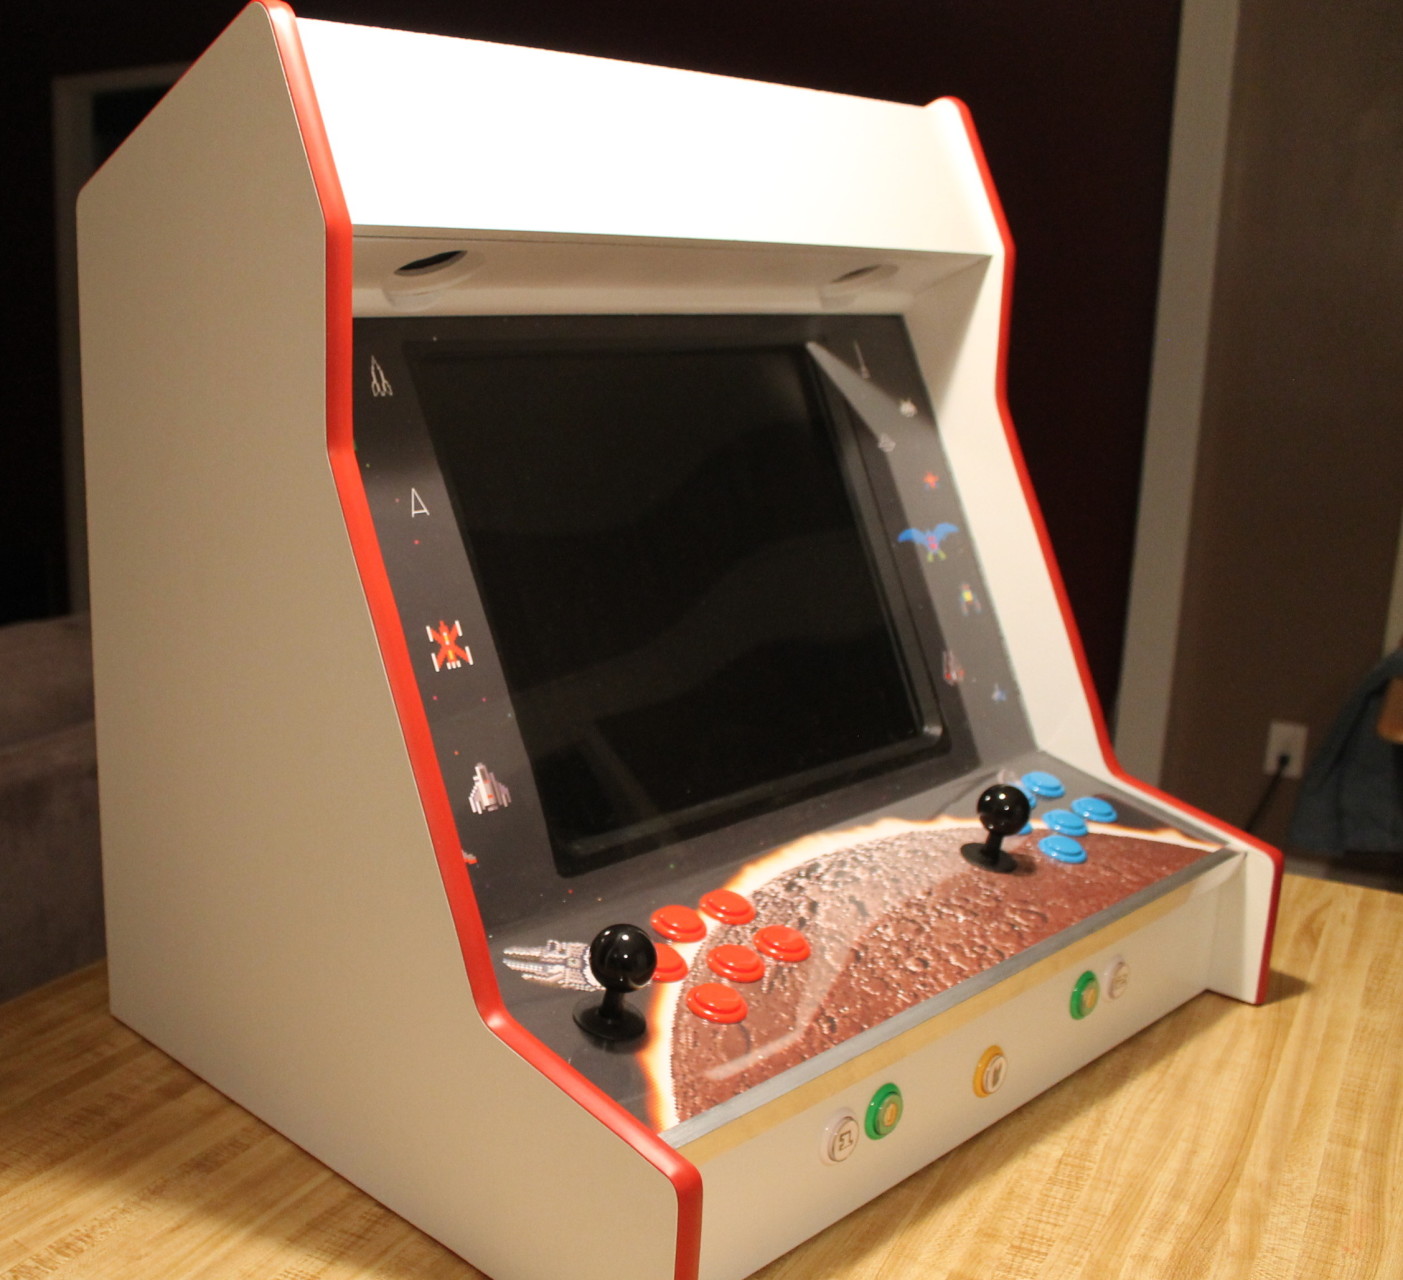
The first modification I made was to make it a bit wider, since I don’t want to have to stand that close to people. You’ll notice mine doesn’t have any art on the marquee or the sides. I may add something eventually, but I think it looks fine plain.
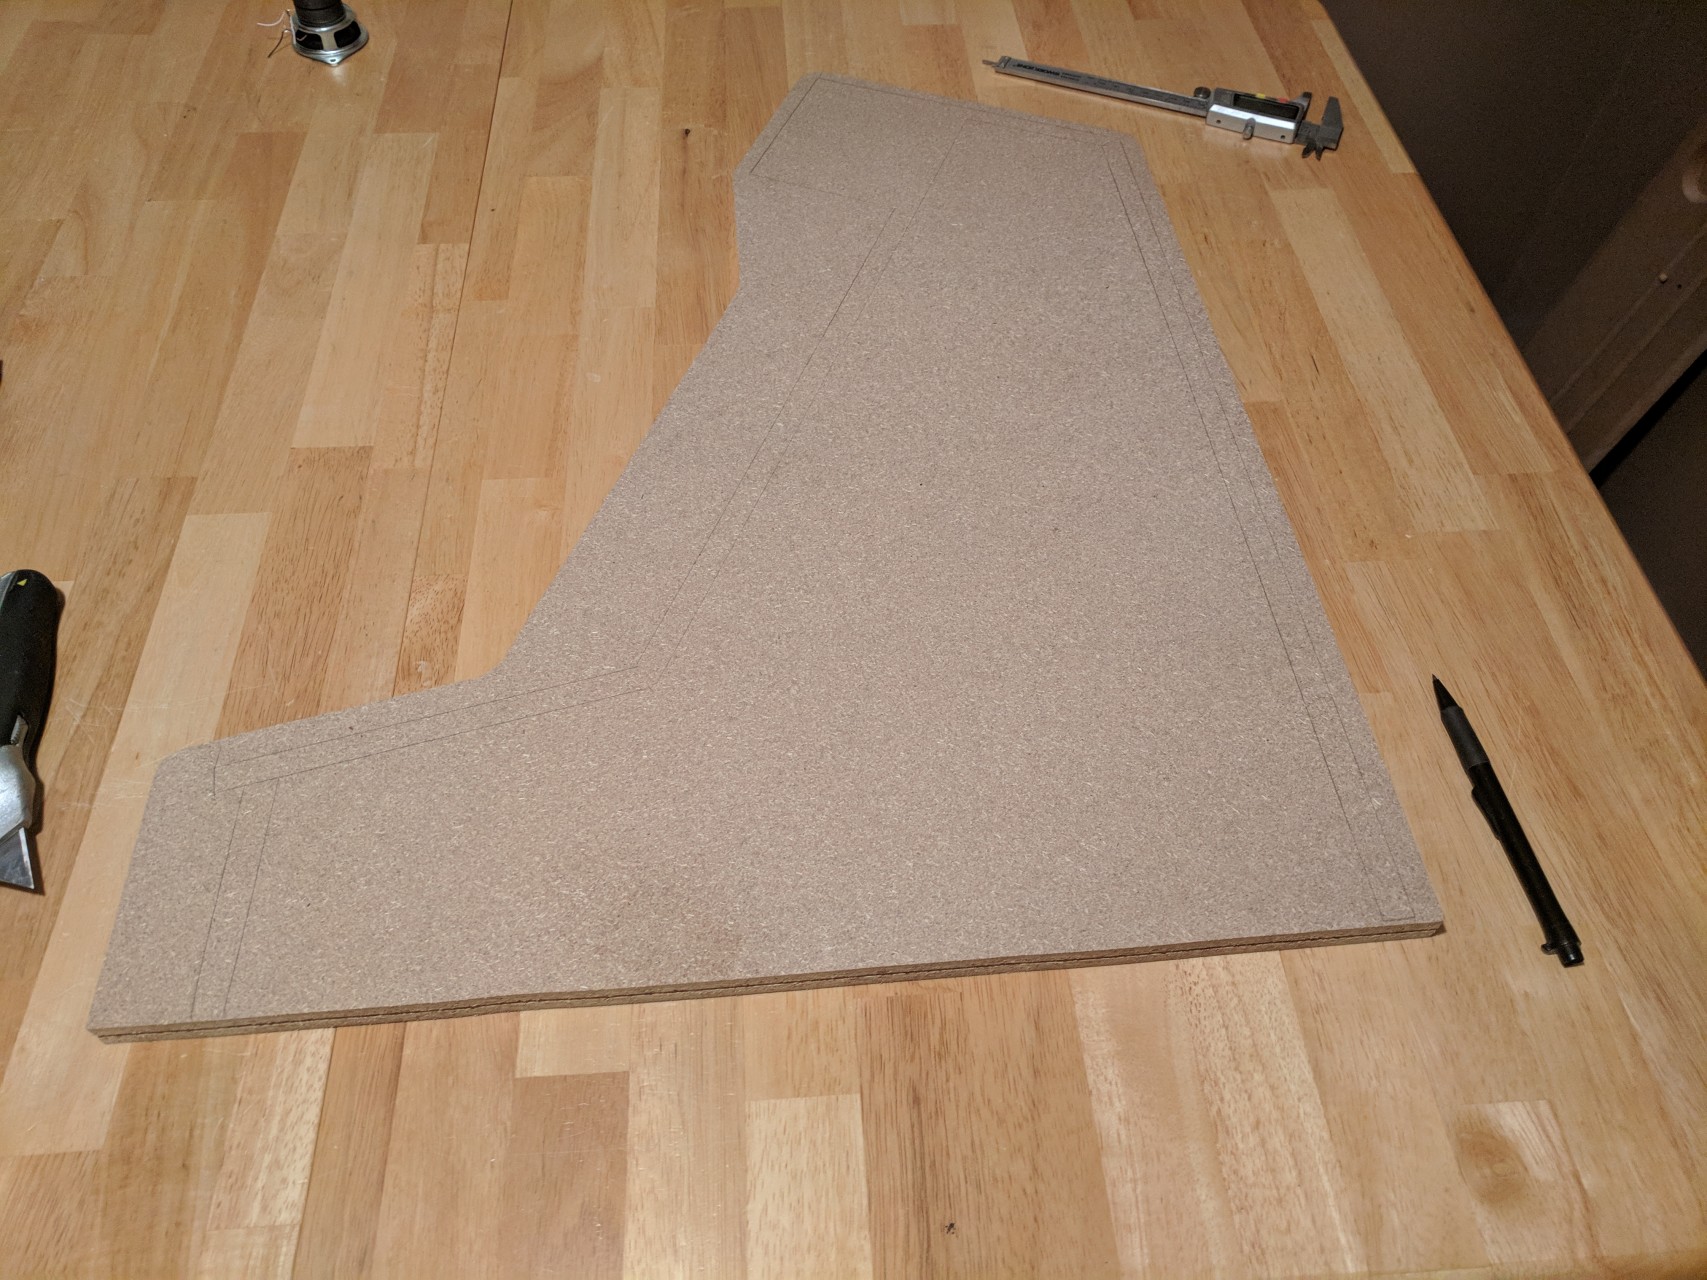
I made the side panel design a bit more angular, and deeper (to accommodate a subwoofer).
I also mounted speakers facing down under the marquee. It’s just a Logitech 2.1 set that I disassembled, but it sounds pretty good. The controls are pretty much identical, except that I added a dedicated hotkey button. If you hit it by itself, it’s pause. In combination with other buttons, it can exit the game, open the menu, etc.
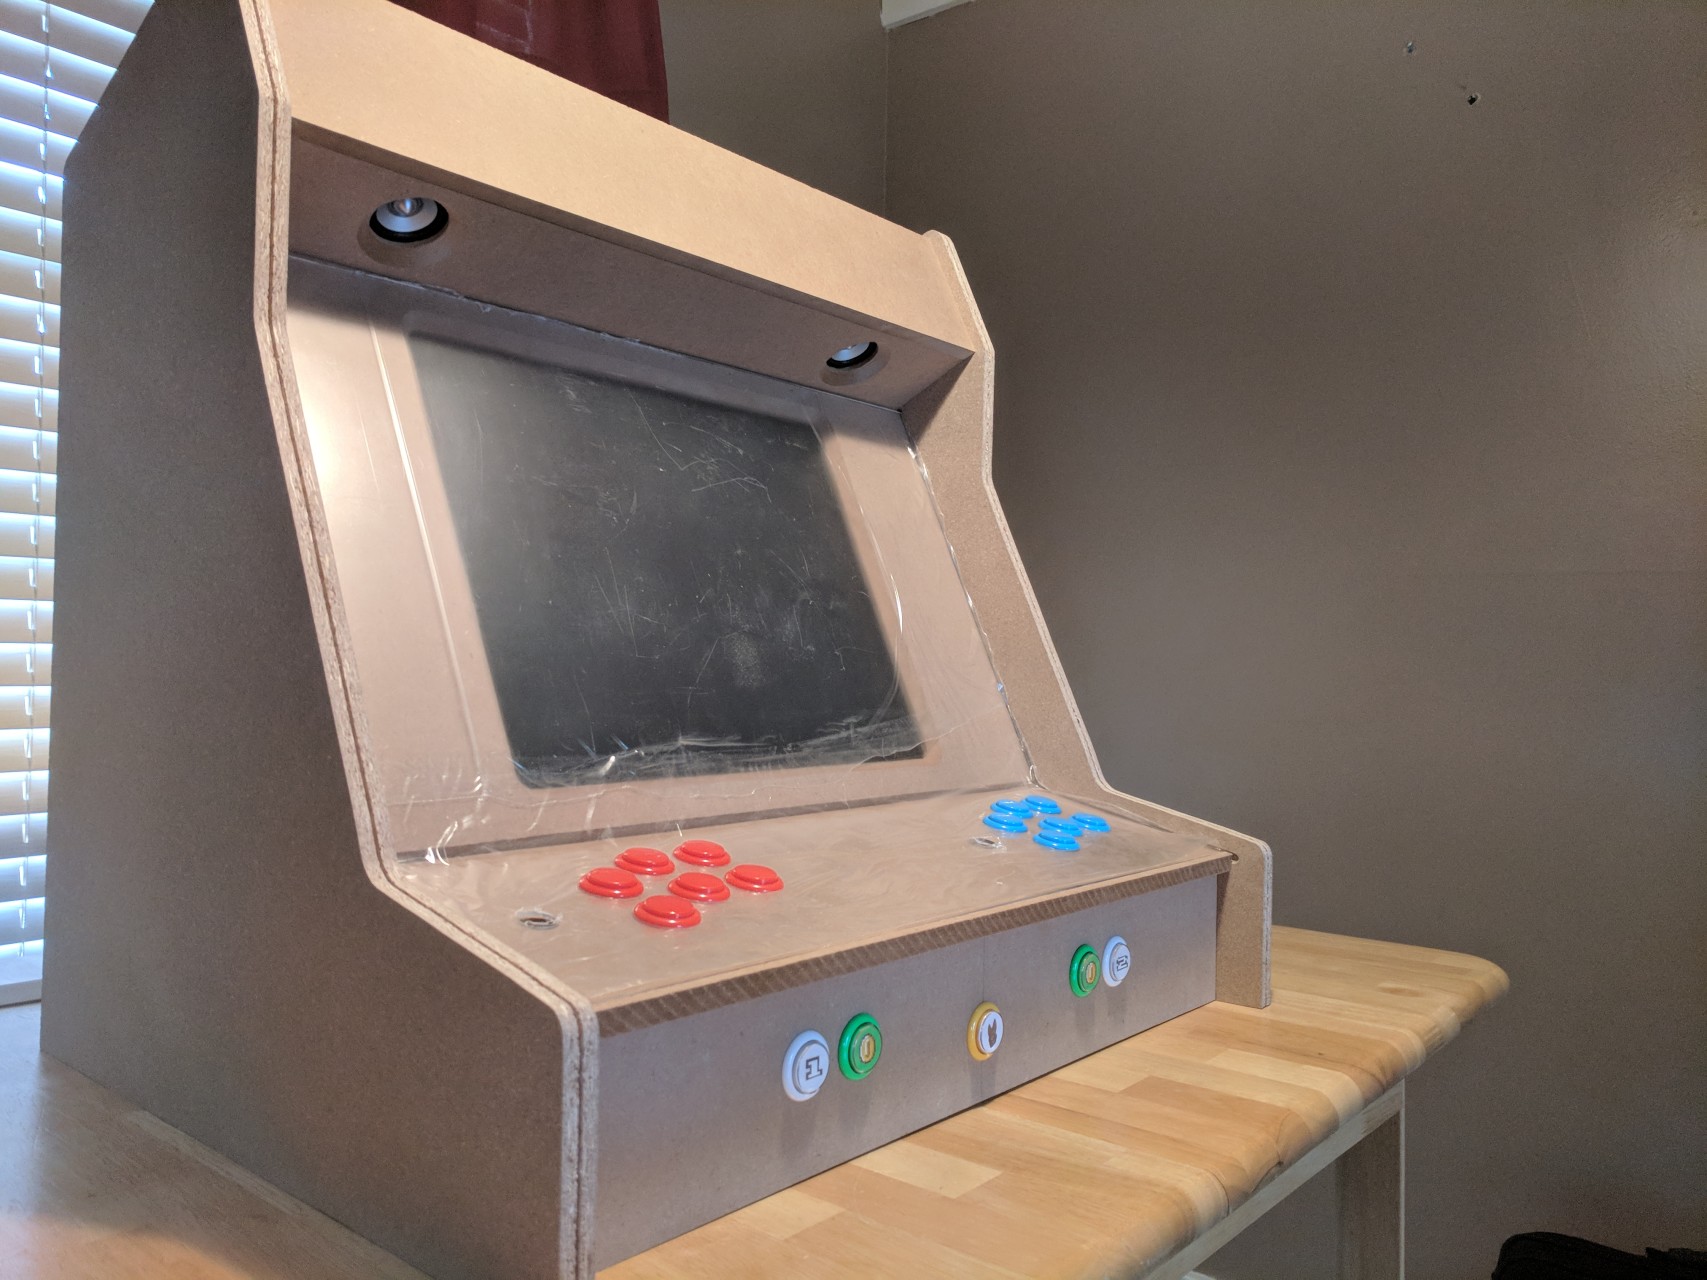
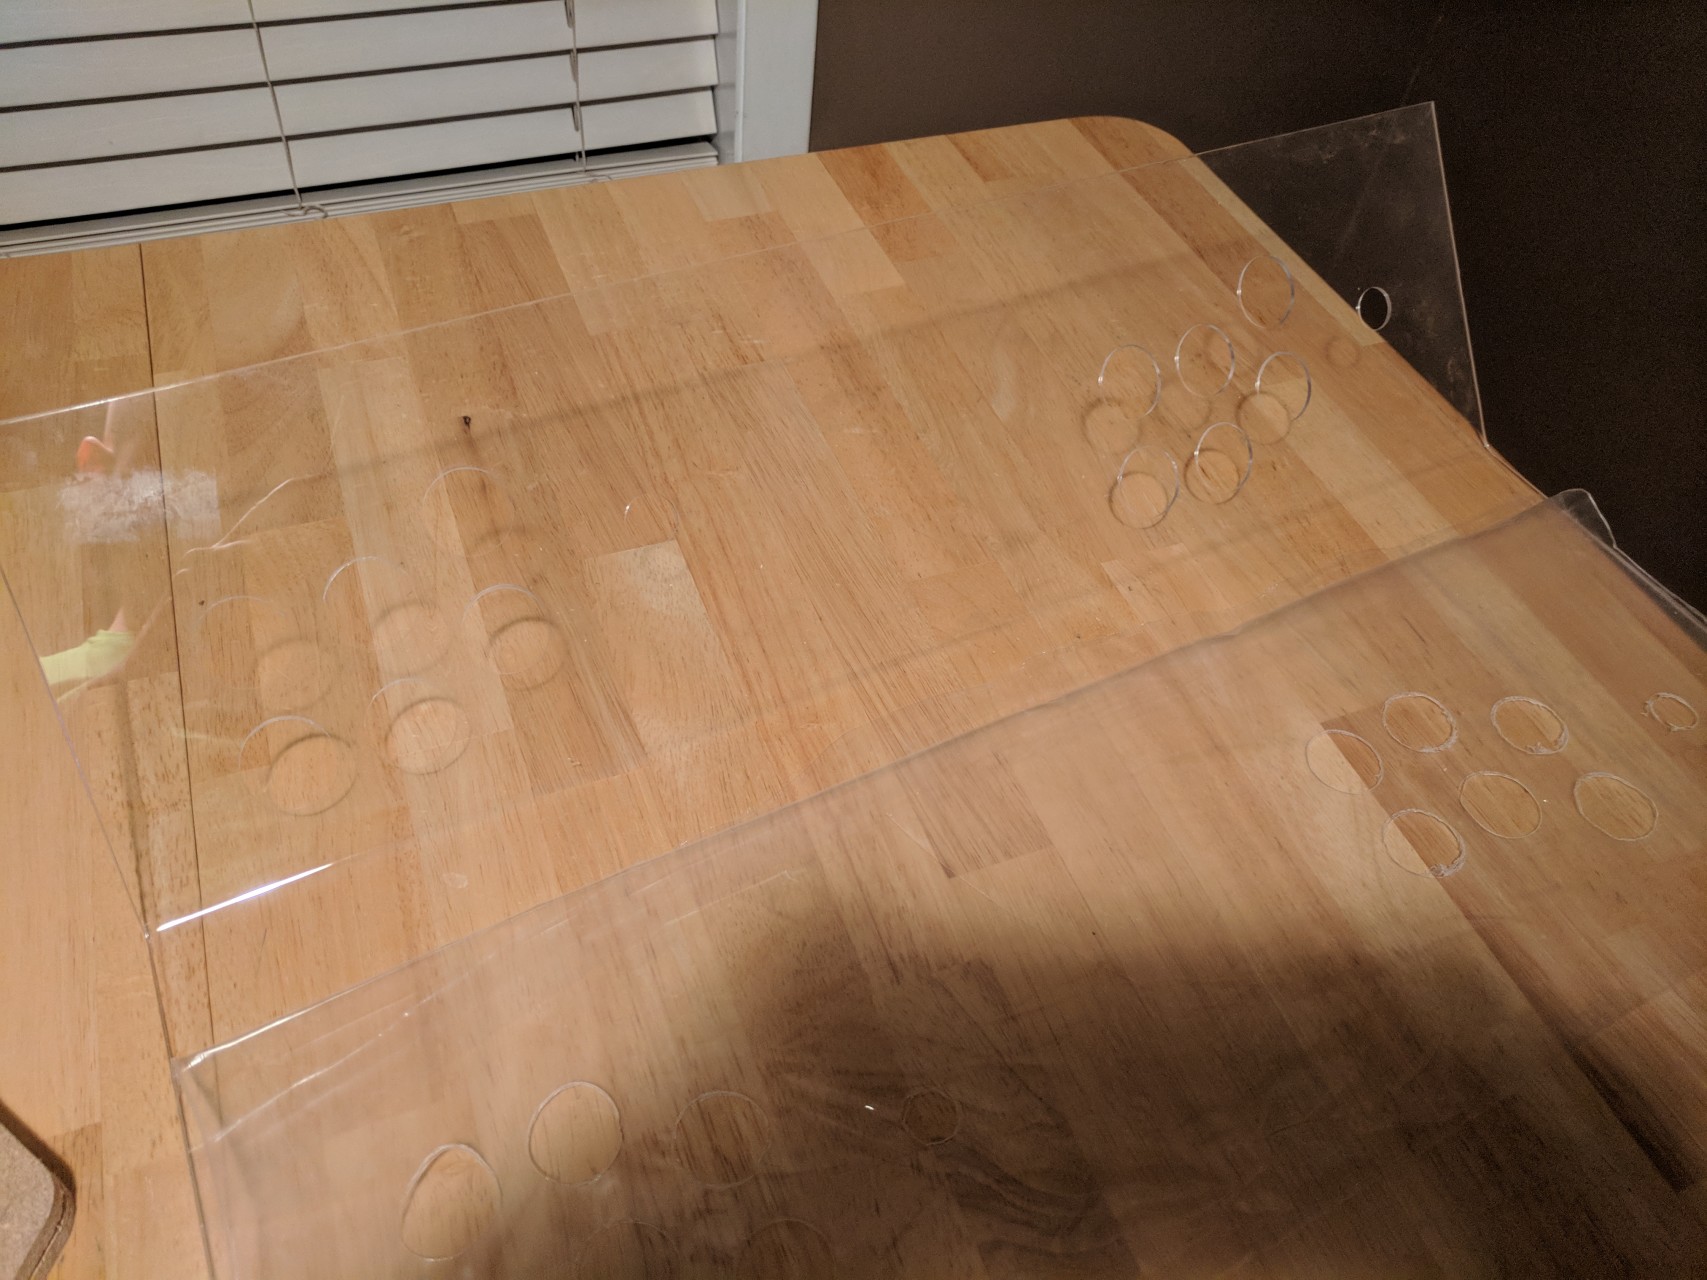
The display and controls are both covered with a single large piece of plexiglas. I cut it to the right size, then clamped the full width between some boards and applied heat with a heat gun as I slowly bent it to the correct angle. It worked out pretty well, except that I cut it a bit short and had to add an extra piece of trim at the top to cover the gap. I also cut it wide enough that I needed to make a groove in both side panels for it to fit into. I thought this would make it very secure (which it did), but it was also a lot of work. I think it would have been fine if I’d just cut it to fit between the panels.
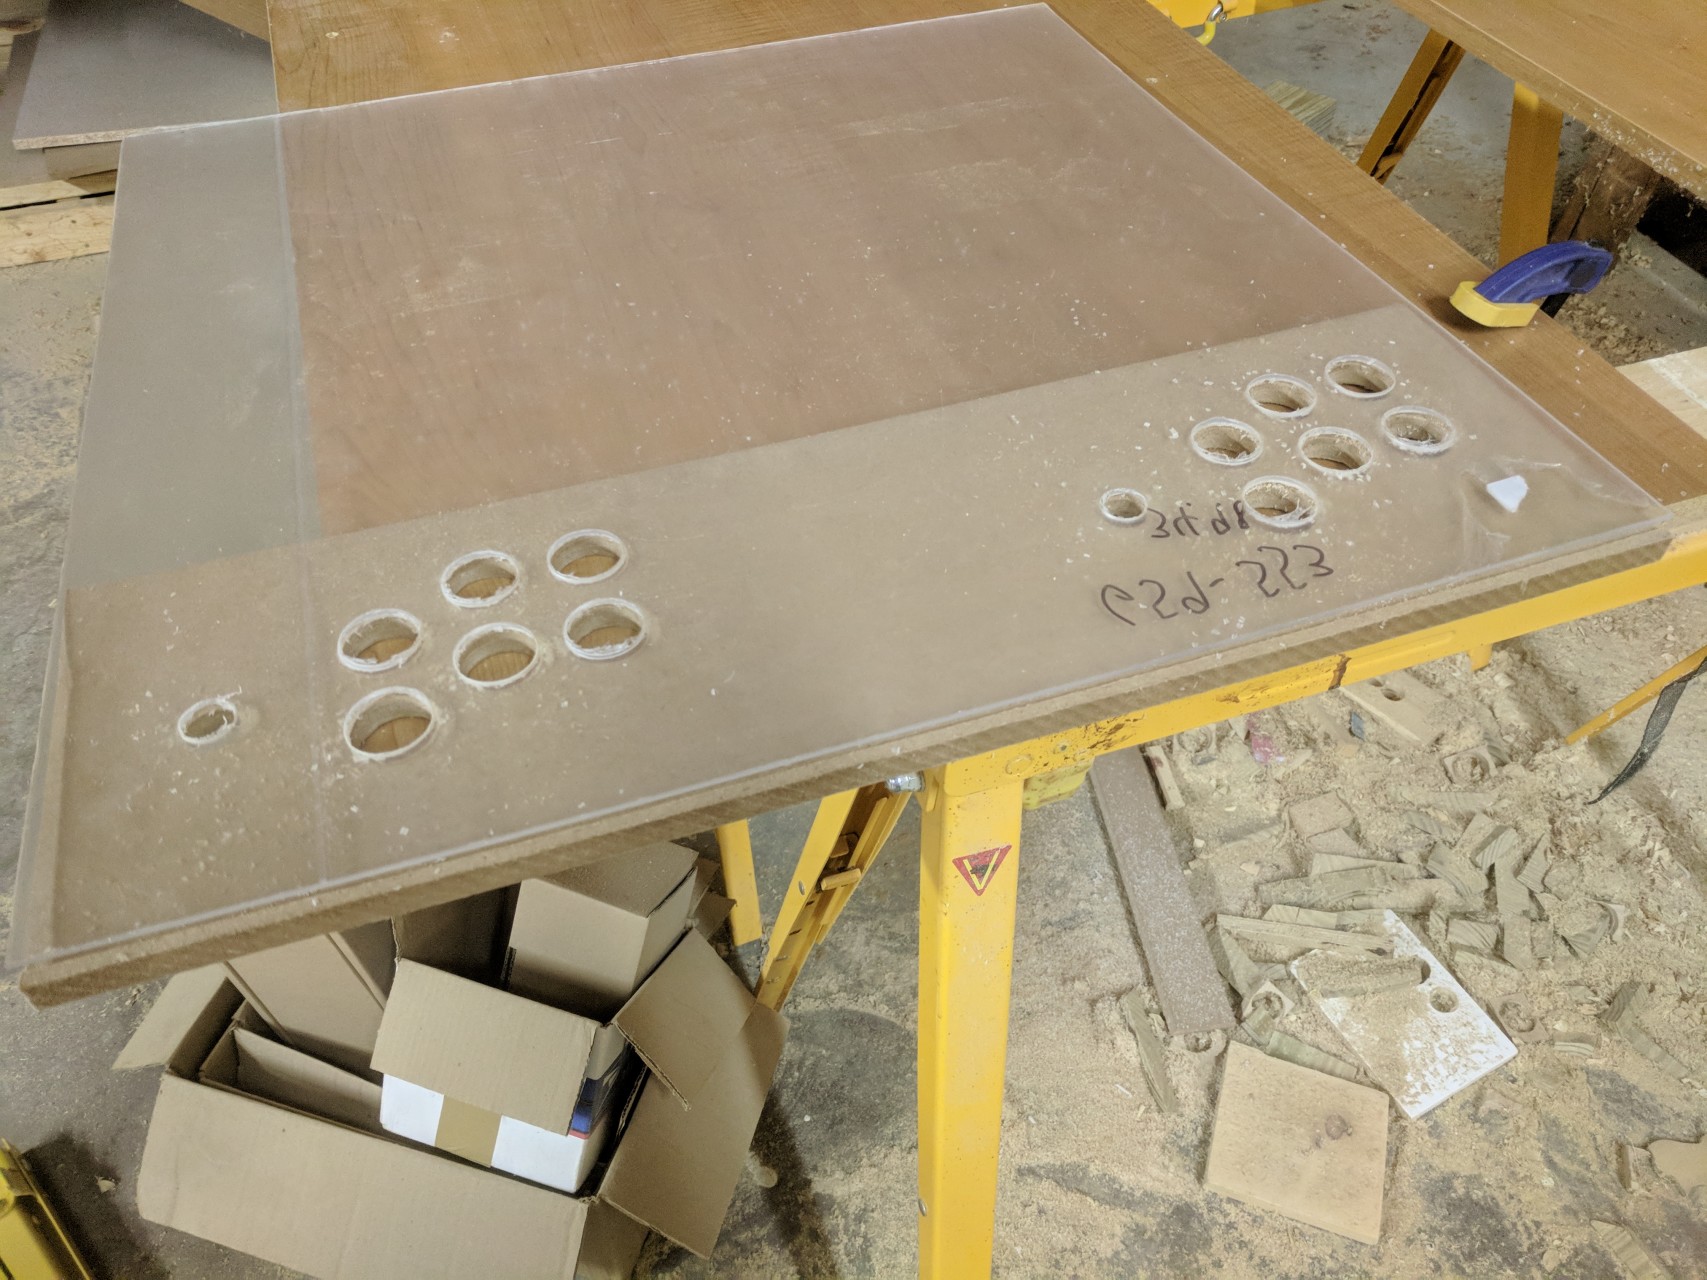
The control panel is 1/2″ MDF, which did not work out well. It’s too thick for the screw in buttons I had, but too thin and soft to act as a support by itself. In
the future, I’d probably get snap-in buttons that click into the plexi and make the panel out of plywood. If you look closely, you can see that I routed the entire control panel board thinner, except for the last quarter inch or so. That is not something I want to repeat. The ragged holes at the top are just to run the speaker wires (and reduce weight a bit).

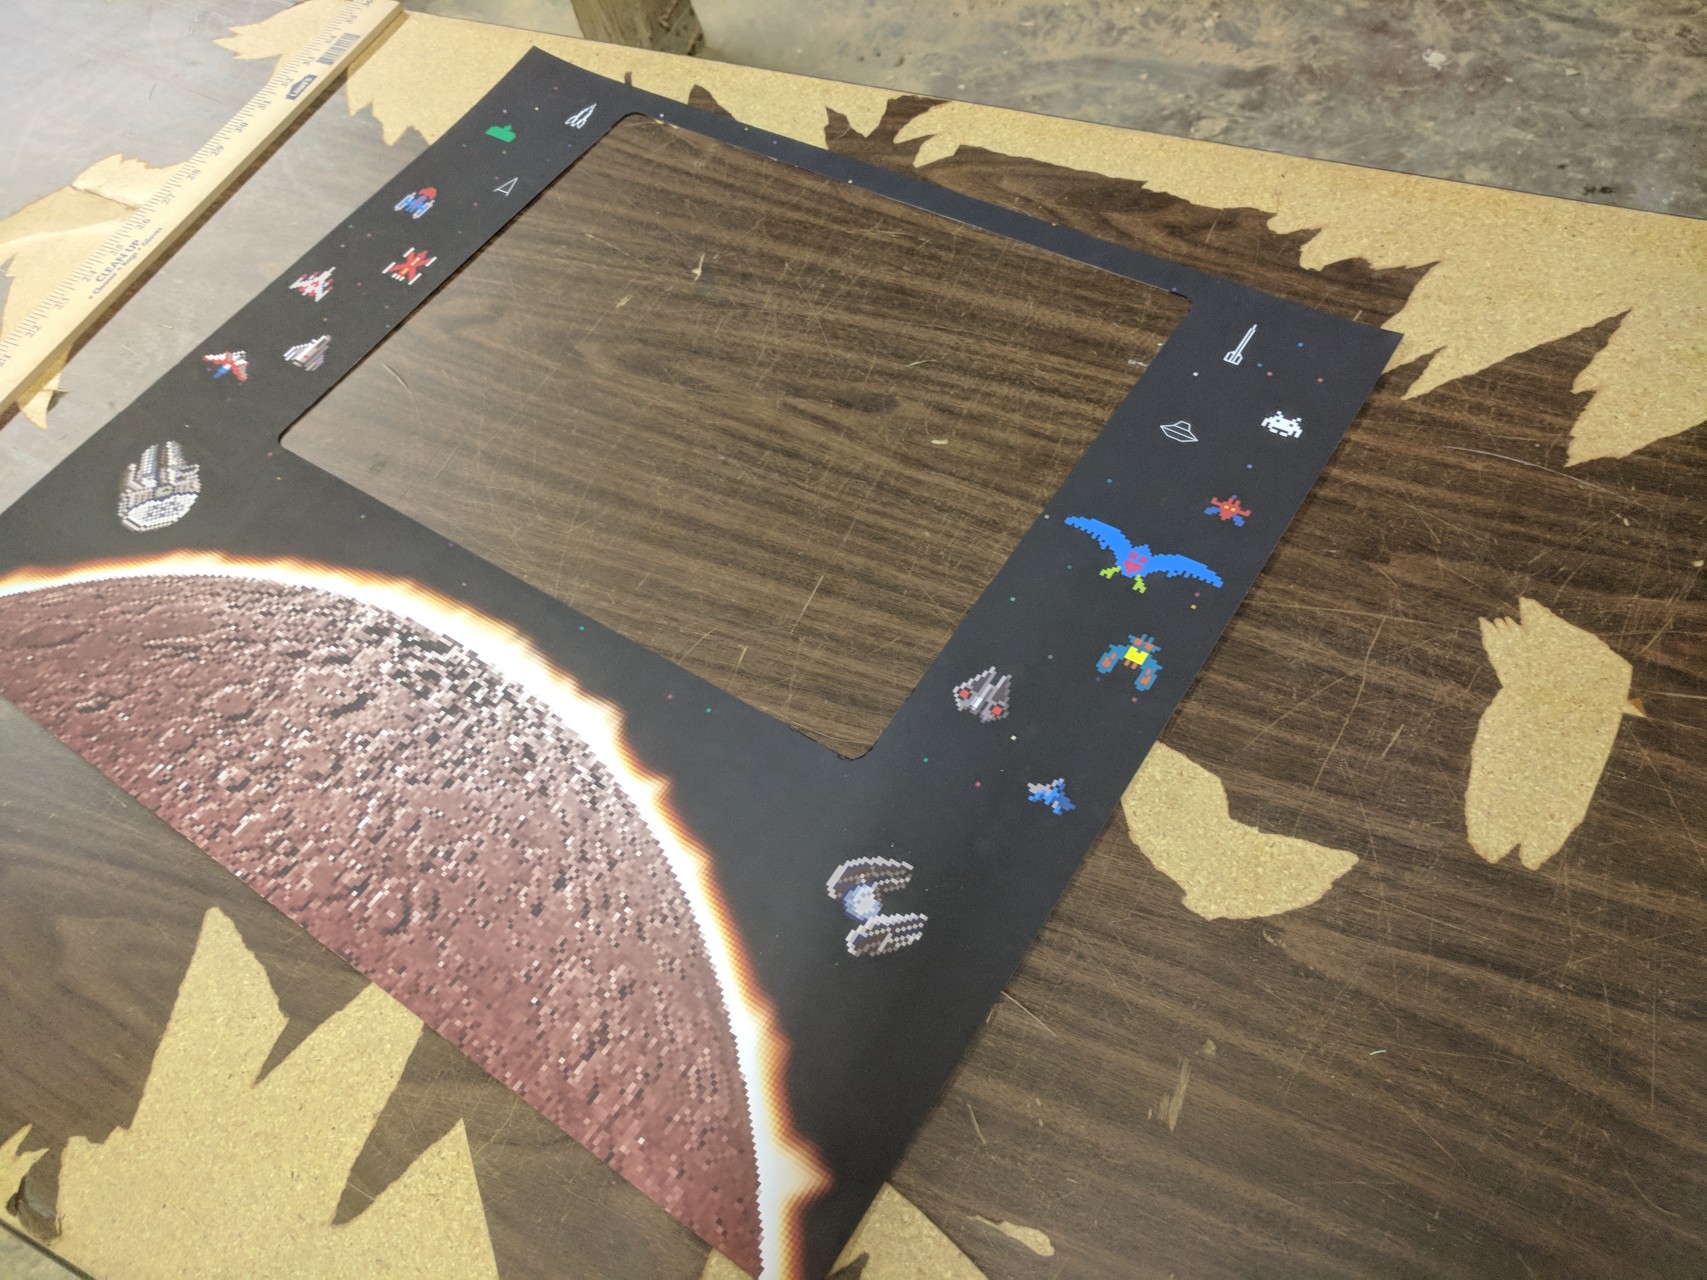
I designed the front to illustrate the protagonist (left) and antagonist (right) ships from a bunch of early space games, with the oldest at the top. The “planet” at the bottom is a modified and pixelated image of the moon.
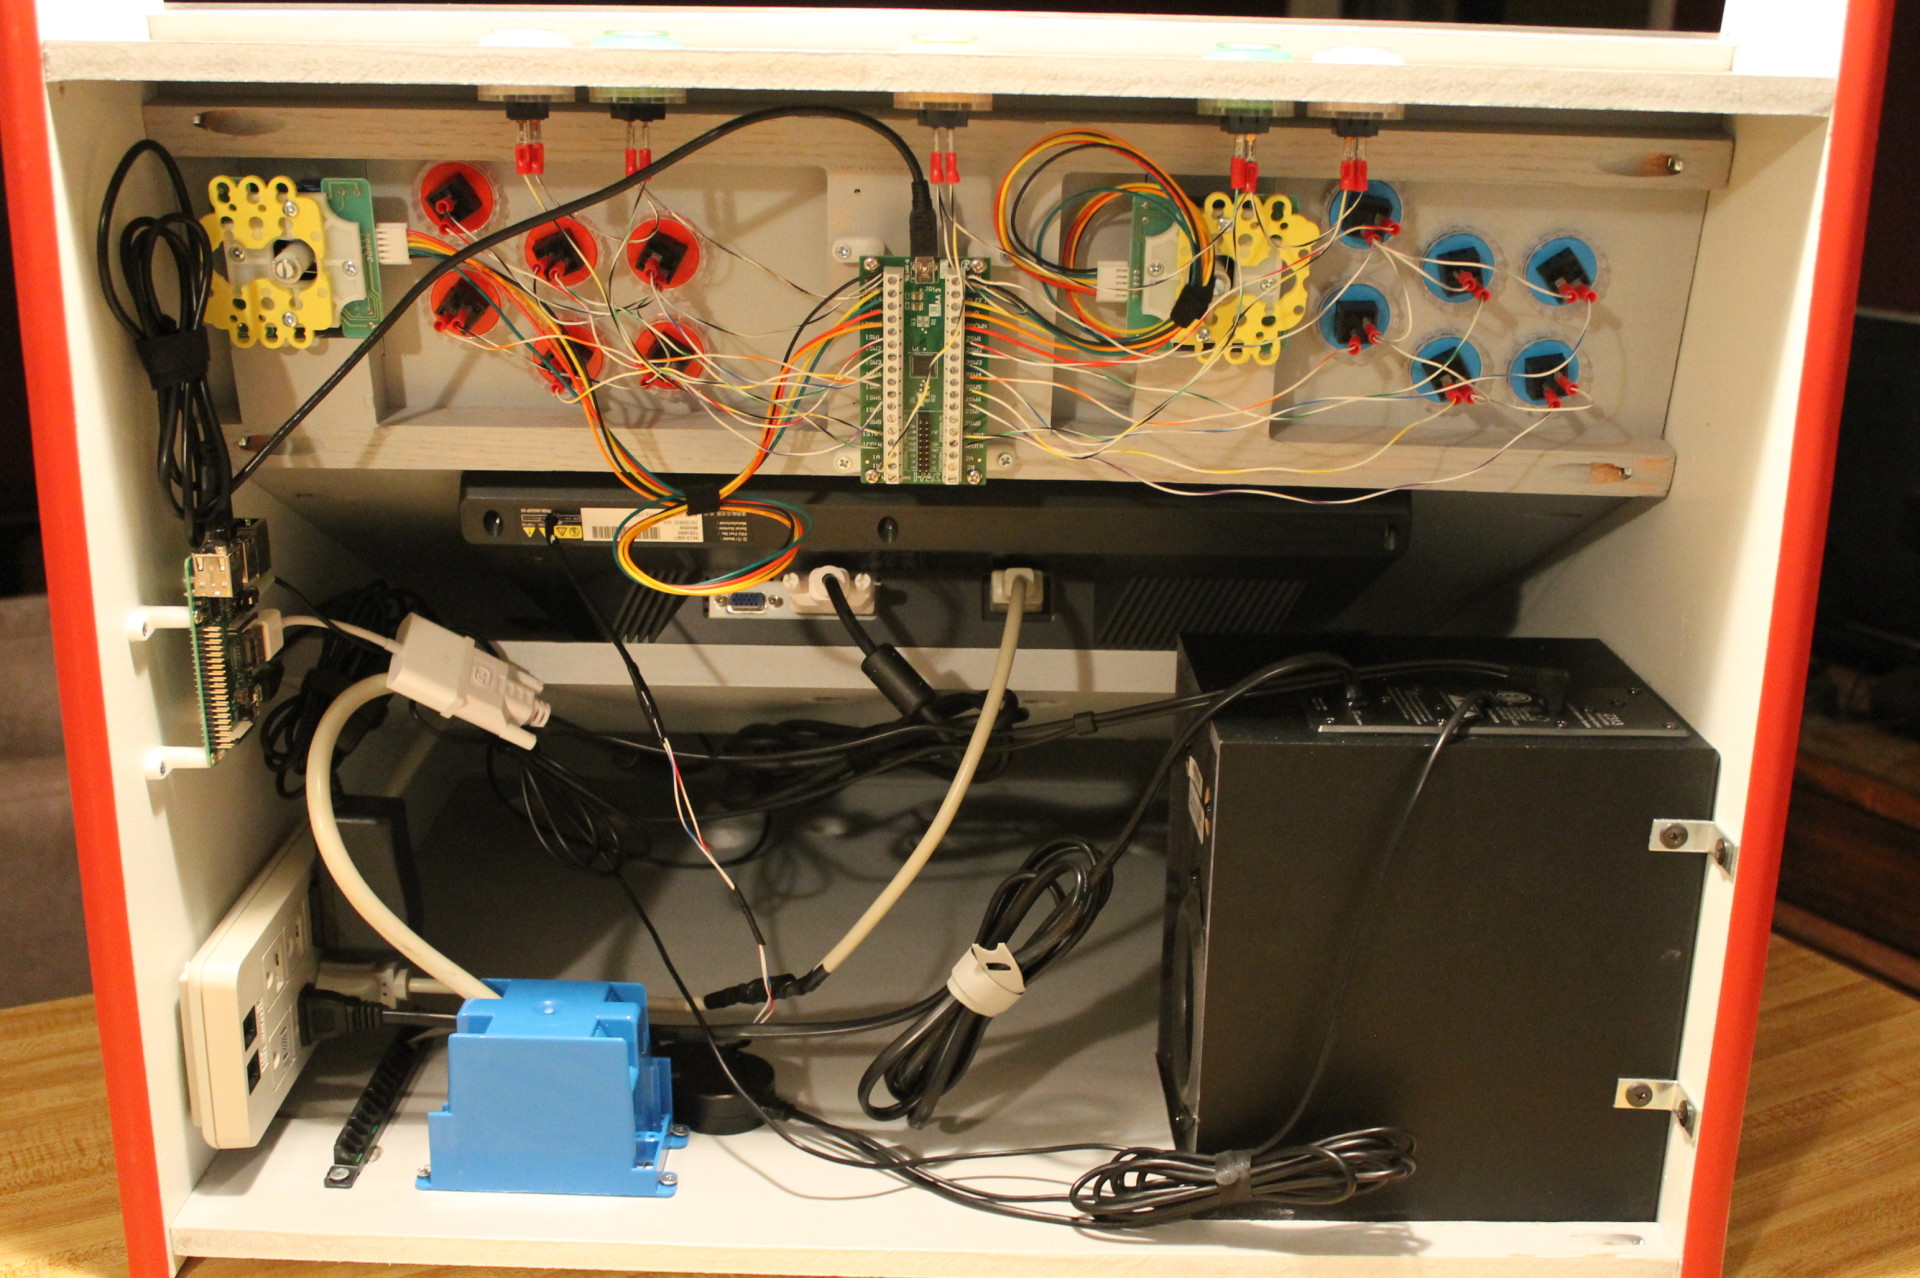
Here’s a shot of the guts. Instead of cutting a door into the back, I chose to just not have a bottom panel. This gives me very easy access to all of the wiring, and simplifies the design a bit. The joysticks are not actually screwed into anything (since the panel is MDF, which doesn’t hold screws well). Instead, I mounted an oak support beneath the control panel, which provides support and also presses the joysticks into indentations that I cut with a router inlay bit.
There are more pictures of the cabinet and the construction process available as well.


hi Kirk,
Would it be possible to fix the super helpful GUID converter utility on your website at https://robobunny.com/cgi-bin/guid ?
This is a great tool!
Below is the error message that the website shows.
Internal Server Error
The server encountered an internal error or misconfiguration and was unable to complete your request.
Please contact the server administrator at kbaucom@schizoid.com to inform them of the time this error occurred, and the actions you performed just before this error.
More information about this error may be available in the server error log.
Apache/2.4.29 (Ubuntu) Server at robobunny.com Port 443
Thanks!
Thanks for letting me know! I recently ran an OS update and didn’t realize this broke. It’s working again now.
Thank you Kirk for the quick fix! Much appreciated!